How to Build a Console Table (No Nails Needed!)

This write-up at first appeared on CheckingInWithChelsea.com.
Influenced by at present trending raffia-included home furnishings, I’m demonstrating you how to establish your own Tv set console table lined in wallpaper for $150!
**I partnered with Titebond for this undertaking which would make me actually energized because…I made use of their first wooden glue and ONLY their wood glue to hold my complete table jointly! What?!**
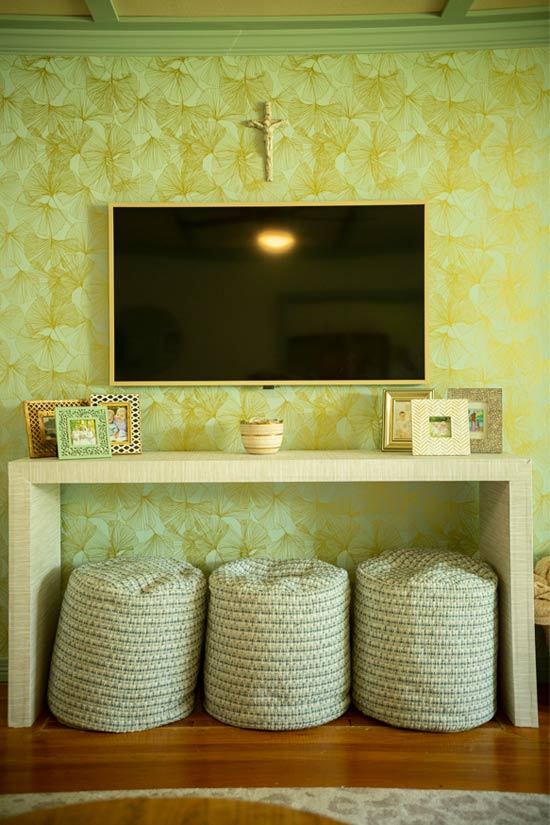
The goal for my home was a tall and extensive table without any seen supports that broke up the cleanse strains. The general dimensions of my concluded table are 70″ vast and 35″ tall. So retain that in thoughts with the elements and slice lists underneath!
What to Obtain
What to Slice
1x2s:
- (4) @ 32″
- (7) @ 14-1/2″
- (2) @ 70″
3/4″ plywood:
- (4) 32″ long x 16″ wide
- (2) 70″ extended x 16″ broad
Setting up the Console Table Bins
In essence we are making 3 different boxes. 2 will be the legs and 1 will be the tabletop.
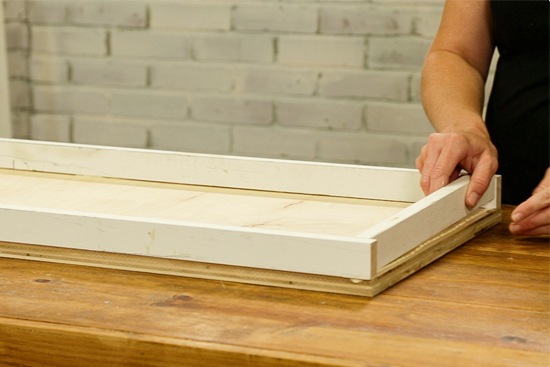
Start out with the 2 lesser bins (legs) to get your feet damp. Lay a 32″ piece of plywood down and add your Titebond wood glue alongside the prime aspect of all 4 edges. Then lay a 1×2 on its aspect on top rated of the glue, building guaranteed it’s flush with the edge of the plywood.
The 32″ pieces of 1×2 will go from edge to edge of the plywood though the 14.5″ parts need to suit snuggly among.
When you have the 1x2s lined up on the edges just so, operate a bead of wooden glue on the top of them.
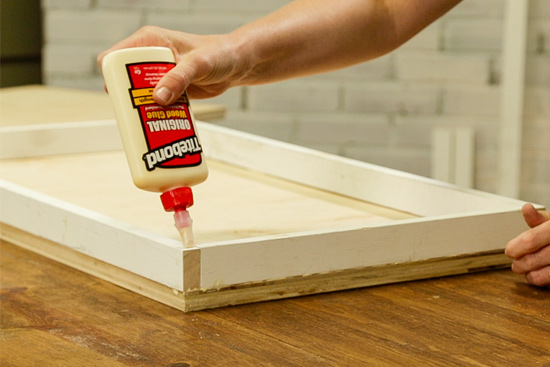
Gently established one more 32″ piece of plywood on prime. Now your box leg is complete!
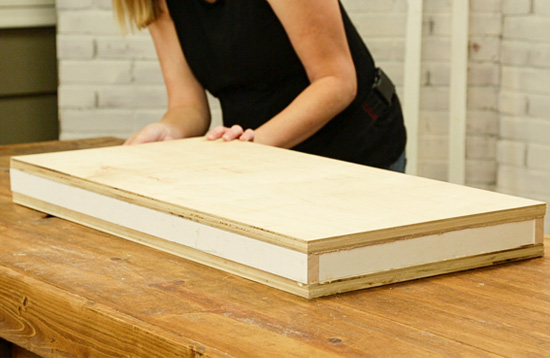
Repeat for the other leg, utilizing a couple clamps if essential to develop tremendous restricted joints!
You are going to abide by the identical measures to generate the tabletop, only you will incorporate an supplemental 14.5″ 1×2 aid somewhere in the center. This will assistance hold the very long 1x2s from sinking in and incorporate general balance to the table.
Ready is the Most difficult Element
If you have at any time attempted to pry wooden apart that is been glued with Titebond, even for a handful of minutes, you know it’s in essence difficult to do well.
And that’s why you never will need any nails or screws to keep your desk with each other. Wooden glue, when thoroughly dried and remedied, is actually much better than fasteners! So nuts but oh so accurate!
Let your 3 boxes dry and established up for at the very least 30 minutes ahead of going on to the subsequent phase.
Introducing Legs to the Table Leading
Assuming your flooring is level, set your leg packing containers upright, roughly 70″ aside. Use enough quantities of wooden glue to the tippy top of your legs and carefully established the tabletop in location. Regulate the prime so it’s flush with the outside the house of your leg on just one facet prior to changing the other leg.
For a table this massive, it would be handy to have a buddy or partner maintain the superior facet in put though you manipulate the other aspect. But with a handful of back-and-forths, you can handle it yourself too!
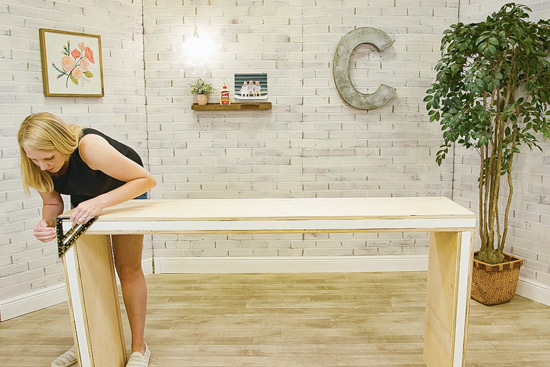
I utilized a pace sq. to make certain the legs had been at 90-degree angles. Not a bad device to have in your arsenal if you really don’t have one particular previously!
When you are glad with your leg circumstance, let it sit for about 30 minutes just before you start off masking every little thing in wallpaper!
Adhering Wallpaper to the Console Table
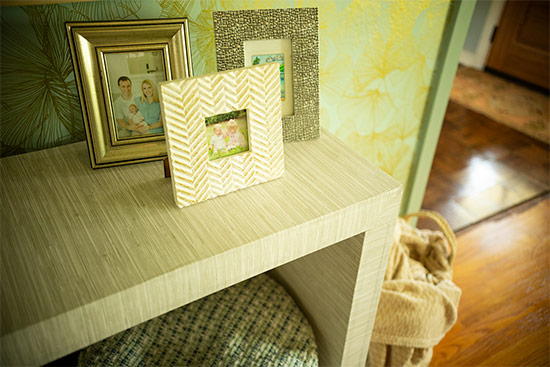
I appreciate the texture of a raffia or gentle-colored wooden table. And immediately after a pal shared an economical peel-and-stick wallpaper she applied that appeared like faux grasscloth, I realized I could use that to produce the texture I wanted for this piece of furniture.
I also wanted the desk to seem like 1 slab of wood. To develop that result with the wallpaper, I commenced at the base of a person leg, took it up and above the top, and then down the other leg devoid of any cuts or seams. I also lined it up with the back again edge of the table so it could fold and go down the entrance edge without having any seams.
Ideally, the online video improved illustrates how I handled the corners, so look at it earlier mentioned! I had the paper that came from the tabletop below the paper from the legs. Then I scored on the paper alone the 45-diploma angle from the within corner to the outdoors corner of the wood framework. I lower any surplus paper from the prime and then caught it down. Future, I lower the layer of paper coming from the legs along the line I just scored. So when everything was laid flat and stuck down very good, it appears to be like my legs and tabletop have been mitered with each other.
Originally I prepared to thoroughly trim the extra at the conclude of the entrance edge, but since it folded so properly without the need of any bubbling, I folded the inch or so excessive and caught it to the inside of of the table.
And that bought protected up subsequent with one more run of wallpaper. I acquired adequate wallpaper (2 rolls) to protect the within of the legs and the underside of the tabletop. And given that I was significantly less involved on the underside about seeing seams, I lined them separately and ended up not masking the underside of the tabletop by itself. You seriously just can’t see it all through each day use and it saved me $27 by not opening the 2nd roll.🤷♀️
Oh and for the legs, the within wallpaper was flush with the entrance edge so the surplus was just folded in excess of and stuck on to the again of the legs. Indeed, it appears to be unfinished from the backside. BUT WHO CARES?!

The only spot I required to trim wallpaper was at the base of the legs. I propped up one particular leg at a time with a scrap piece of 1×2 so I could trim it as exactly as doable. I didn’t want any sliver of wood exhibiting and providing away my table’s techniques!
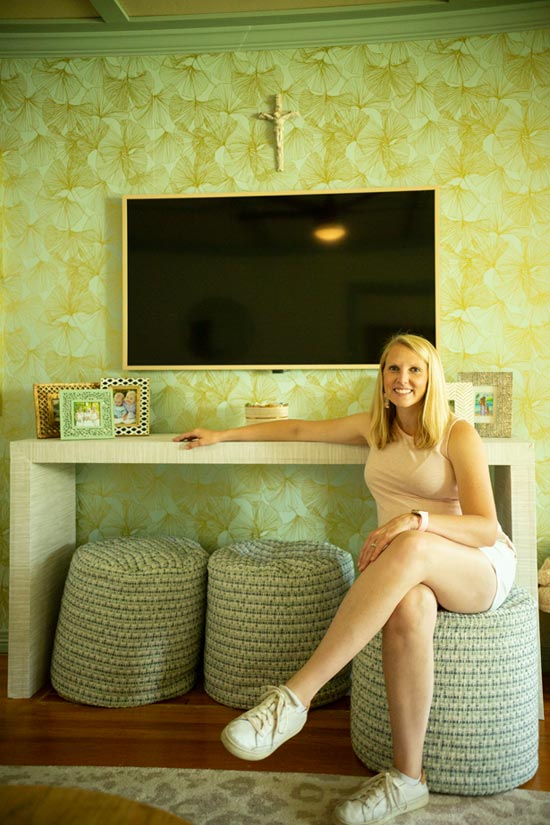
About an hour or so immediately after finishing the table, there was nonetheless a small wobble to it if you shifted it from aspect to facet. But soon after leaving it alone overnight, the wiggle was gone and this desk was strong, steady and prepared to shift to its new property!
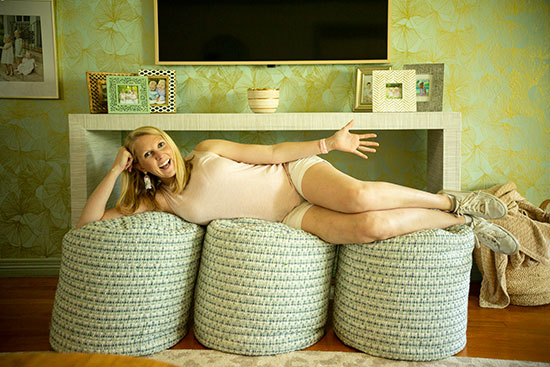
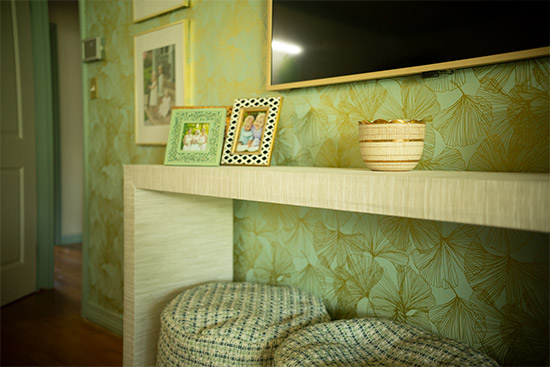
I ordered our poufs from Home Depot* to provide as decoration AND additional seating. They are like sophisticated beanbag chairs and the young children have presently pulled them out to sit and roll close to several occasions!
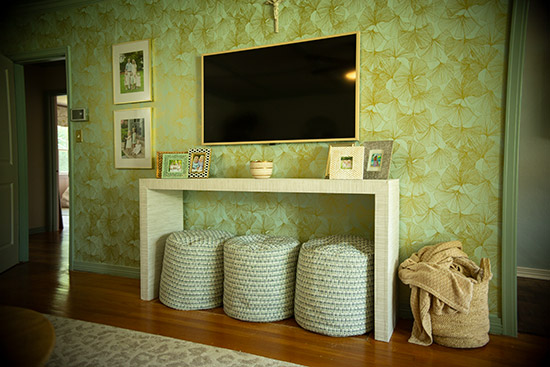
The wallpaper powering the Television and console was just lately hung to build an accent wall. I like it by alone but I’m however seeking to figure out if I like the room as a complete with the wallpaper in it.🤔
But we do adore the sleekness of our Frame Tv*! It was a splurge we handled ourselves to when our past residence sold for way in excess of the asking price. Now I’m contemplating I may possibly brush some gold paint on the frame to match other gold frames in the space. The projects and tips never end around below! Ha!
*This submit includes affiliate one-way links.*